Background
This year, we had decided to try to a sourdough starter. A few of our friends had managed some excellent baked goods using theirs, and we were keen to try it ourselves. Especially if doing it ourselves meant that we could get something that approaches an american bagel.
Goal
As we are living in a construction zone, we did not think it prudent to try to capture a wild yeast and truly do it ourselves, so we decided to purchase a starter to begin our yeast colony. We had to identify a container which could keep it safe and sanitary, and then we had to find recipes.
Resources
I looked around and found Bakery Bits starters through an amazon search, and they had a good website full of helpful advice about how to care for a colony, as well as some recipes.
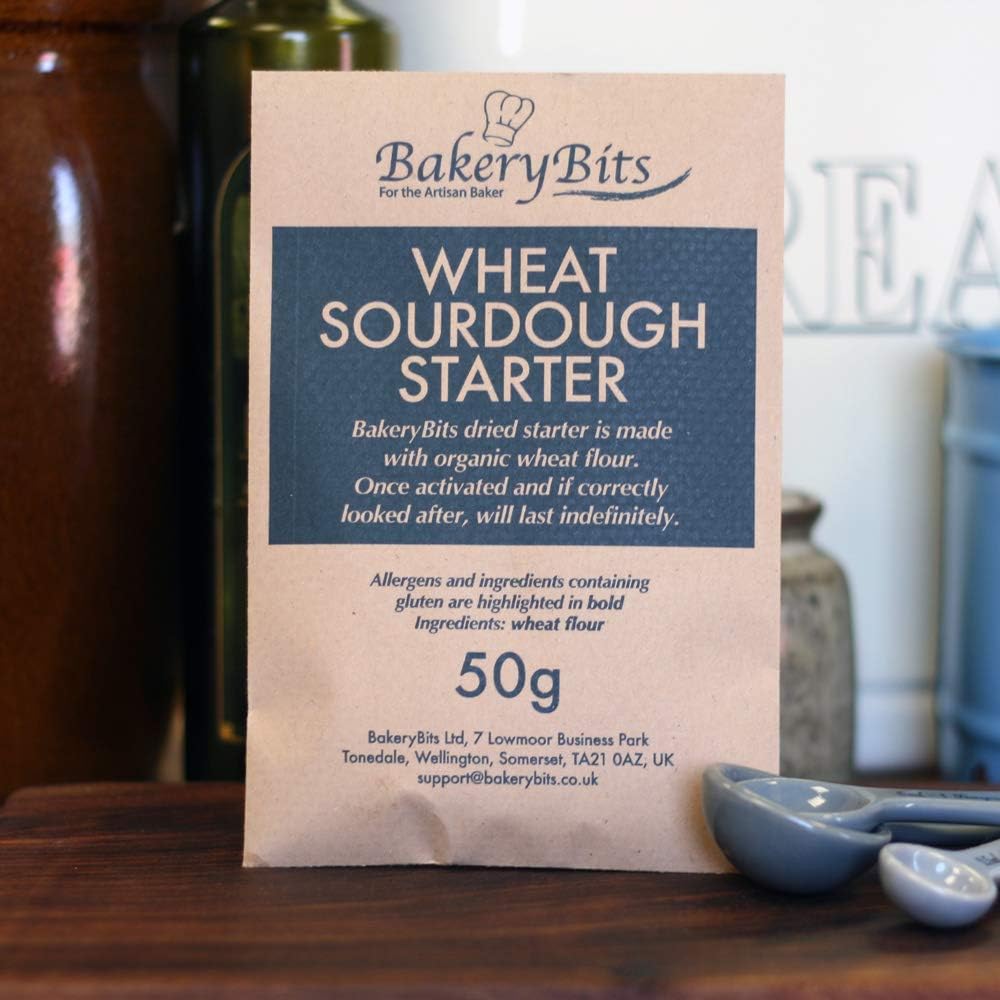 |
| The starter I ordered. |
The first container we bought for Audrey (yes we named our yeast) was this glass container. It served us well for a few months, until I poured some boiling water into it while I was cleaning it and it shattered. Luckily, it was in the sink, so the damage was minimal. Audrey lived in a bowl for a few days until I found its second container.
The second container's stated purpose is as a microwave steamer, but this allowed us to grow Audrey up to make several bakery items at once in a day rather than having to wait for two growth cycles.
 |
| Audrey now thrives in its 3L home. Curver Cuit vapeur Smart "2 en 1" puchased from our local Leclerc, with the insides racks removed. |
Result
Click on each image to take you to the recipe we used. Any variations are noted in the caption.
|
| Pizza, pizza! Variation: no active dry yeast, nor pizza dough flavouring. Added Herbs de Provence. |
 |
| Pizza, pizza! Variation: no active dry yeast, nor pizza dough flavouring. Added Herbs de Provence. |


